Why should you clean your dryer vent?
Lint clogging up your dryer vents not only diminishes the efficiency of your dryer, it’s also a fire hazard. Additionally, other obstructions can find their way not only into the flexible dryer vent attachment, but also in the vent leading from your house to the outside. Aside from lint, these vents can be clogged by other debris, including bird nests (yes, if they can get in, birds will build a nest there), wasp nests, grass clippings, and even an occasional sock or two.
What You Will Need:
- Screwdriver
- Clean toilet brush
- Broom hand or other long piece of wood
- Old towel
- Duct tape
- Gloves
- Warm soapy water
The Cleaning Process:
- Before you do anything UNPLUG your dryer (both gas and electric dryers).
- If you have a gas dryer TURN OFF THE GAS. If you are unable to turn off the gas or are unsure how to do so properly, it is best to contact an appliance specialist or the gas company. In any event, NEVER attempt to clean the dryer vents of a gas dryer unless the gas is turned off (and the unit is unplugged).
- Pull the dryer away from the wall so that you can comfortably get behind it to unhook the vent (about 2 ft).
- Once behind your dryer, unscrew the clamp holding the vent to the dryer, and detach it from the dryer.
- Detach the vent from the wall, and lay it on the floor in front of the dryer.
- Insert the toilet bowl brush into the flexible vent and gently move it around to remove any excess lint buildup. You could also use a vacuum cleaner with a wand attachment, but you may need another person to hold the vent in place while you vacuum out the inside. We DO NOT recommend using a coat hanger, or other pointy object for this step as you may accidentally poke a hole in the flexible vent.
- Wrap the broomstick (or piece of wood) with an old towel, and duct tape it so it stays in place.
- Slide the towel-wrapped broomstick into the vent leading from the laundry room to the outside, moving it back and forth and around until the towel comes out relatively clean.
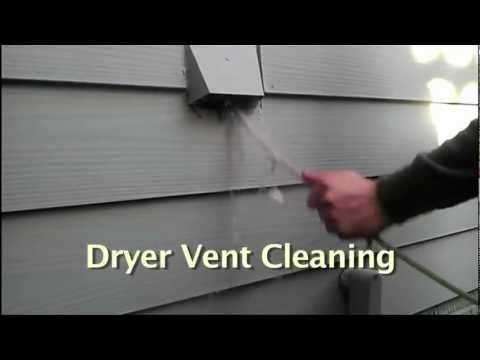
- Go to the outside of the house and locate the outside dryer vent.
- Remove the louver covering from the outside vent (usually held on by screws), and visually inspect the interior to see if any obstructions are visible. If there is a wasp or other similar nest inside your vent, exercise extreme caution to avoid getting stung. Wasps and Hornets can be difficult to deal with and you may want to call an exterminator rather than attempt to remove it yourself.
- If the obstruction is within arms reach and you can safely identify it (i.e. NOT a wasp nest), with a gloved hand, reach in and remove the obstruction.
- If you cannot see or identify an obstruction, insert the towel-wrapped broom handle (or piece of wood) and gently move it around and up and down until it comes out relatively clean.
- Wash off the louver cover with warm soapy water, rinse and replace.
- Go back in the house and reattach the flexible vent to the dryer using the clamp.
- Reattach the flexible vent to the wall.
- Plug the dryer back in and run it for a few minutes on fluff cycle, then turn it off.
- Go back outside and check the vent leading from the house for any additional obstructions that may have been pushed forward. If an obstruction is present, reach into the vent with a gloved hand and remove it, or use the cleaning technique with the broom handle as described in step # 12 above.
- Attach the louver cover to the outside vent.
- Push the dryer back into it’s place and turn the gas back on .
This should be done every few months to avoid a fire hazard and to keep your dryer working properly.
For more tips and tricks about home ownership, please call me directly at 480-229-5861 or email me at Laurel@LaurelNielson.com. You may also visitwww.LaurelNielson.com.

Information provided by: http://www.howtocleanstuff.net

Comments(1)