HOW TO INSTALL KITCHEN UNDER CABINET LIGHTING
Basic builder grade homes, as well as older homes often have dark shadowy kitchens - aka: in need of cabinet lighting! A dimly lit kitchen feels small and unappealing, which certainly isn’t good for home value! If a full kitchen renovation isn’t in the cards, this cheap quick kitchen upgrade packs a big punch; it’s exactly what you need! Hiring an electrician is an option, but the professional version of this job will cost roughly 10X as much. Depending on your budget and goals, the extra cost may or may not be worth it. If a fast and cheap DIY version of this project is what you’re looking for, then get ready - let's do it! The project can be accomplished in under 30 minutes, and depending on the size of the kitchen should cost well under $100. For the full, in depth tutorial, with more pictures and more details - check out: How To Install Kitchen Under Cabinet Lighting over on the blog!
HOW TO GUIDE
STEP 1: CLEAN OUT THE CABIENTS
Empty all the cabinets so you can get started. A clean and safe work environment is key for any DIY project success. You will need to get to the very back edges of the cabinets to drill the holes in step #2.
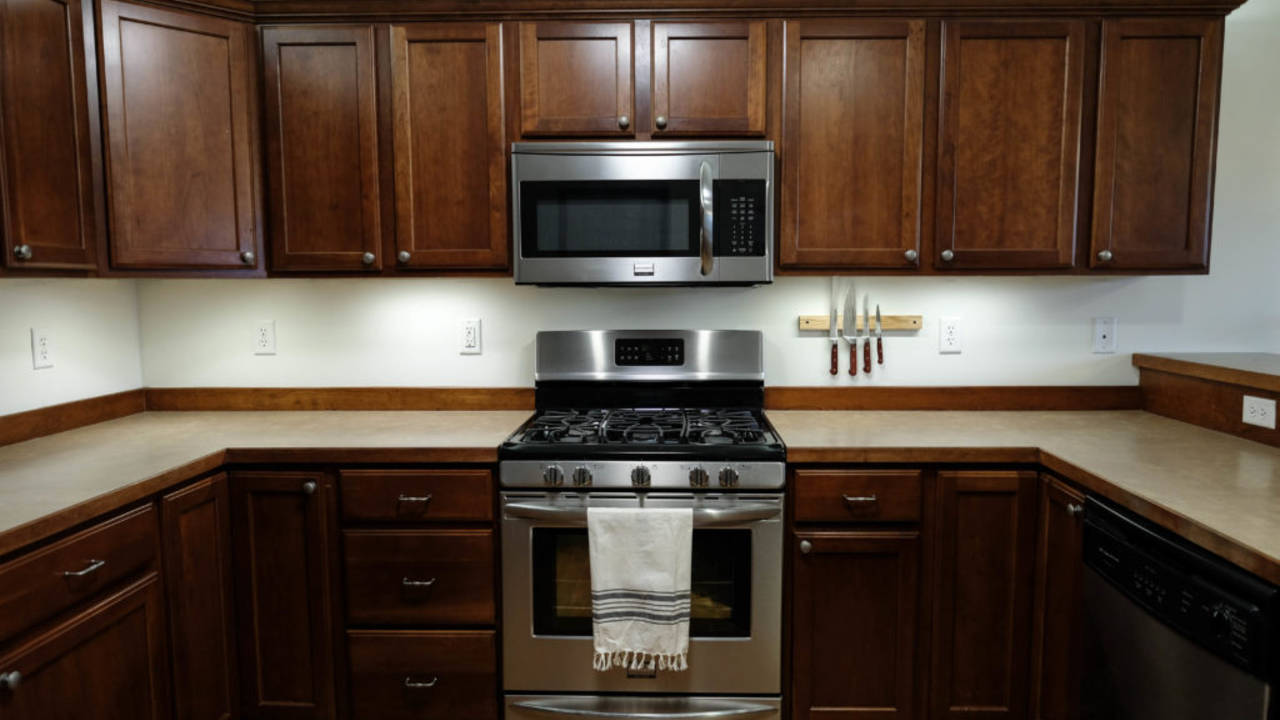
STEP 2: DRILL HOLES FOR WIRES
The power for both under, and over cabinet lighting will come from the outlet that the microwave plugs into in the cabinet above. Use a drill and a ⅜” bit to drill the holes that your wires will run through. Start in the cabinet above the microwave where all the wires will need to lead back to (so they can be plugged into the power outlet). Work your way away from the microwave cabinet, drilling holes in the sides, and then down through the bottom of the upper cabinets next to the microwave.

Next, to power the above cabinet lights, you will need to drill through the top of the microwave cabinet.
STEP 3: MOUNTING THE LIGHTS
Using the holes you drilled in step #2, run the power wires from the microwave cabinet, down through the cabinets until they are hanging out the bottom of the upper cabinets. Measure, and plan you where you are going to put the lights. Try to make sure that they are evenly spaced throughout the kitchen. The under cabinet lights will cast a nice visible glow down onto the back splash (if there is one). When you are planning out where to put the lights, think about making sure that the pops of light will look evenly spaced on the the backsplash. Now, use your drill to fasten the lights underneath the cabinets.

Once the lights are mounted, use the included wire fasteners to make the wiring look neat and organized. If you have excess wire between two lights, make a little coil of wire to hold the extra up tight to the bottom of the cabinet so it isn’t visible.
When you’re done, the under cabinet lights should look something like this:

STEP 4: FIRE UP THE LIGHTS AND ENJOY!
Plug in those light and stand back to admire! Here is the before & after from my project.

Thanks for reading along! I have a ton more blog posts planned, so stay tuned!

Comments(1)