Building your real estate brokerage website is an important moment in the development of your business and brand. Your website will be the focal point of your online presence. If it succeeds, it will allow you to attract new agents, leads and revenues. If your website struggles, well, that can affect the bottom line in a negative way.
This guide will serve as a roadmap to building a real estate brokerage website on the WordPress platform. It will lay out major decision points and explain the tools and features that can help make your vision come to life.
Step 1
Choose a Domain Name
The first step to build a real estate brokerage website with WordPress is to choose a domain name. Your domain name is important because it can help you generate leads online and further your brand.
Here are some tips to get you started:
- Keep your domain name short
- Use SEO keywords
- Use letters only
- Use local references
- Use common spelling
- Be consistent across online accounts
For more, see our blog How to Choose a Strong Domain Name for an IDX Real Estate Website.
Once you are ready, you can check the availability and buy your domain name at GoDaddy or another registrar.
Step 2
Choose Hosting
Your real estate brokerage website needs a place to live. Hosting will store your website and content and allow you to go live online. To make a smart hosting decision, you will need to know a few things about your business:
- How many listings will you be publishing?
- How much traffic are you expecting?
- Am I willing to perform regular maintenance?
- What is my monthly budget?
You will also need to make your hosting decision in conjunction with your choice of IDX software (Step 3) because there may be some system requirements.
For more, see our blogs How to Choose the Right Hosting Package for Your IDX Real Estate Website and What is Managed Hosting?.
Step 3
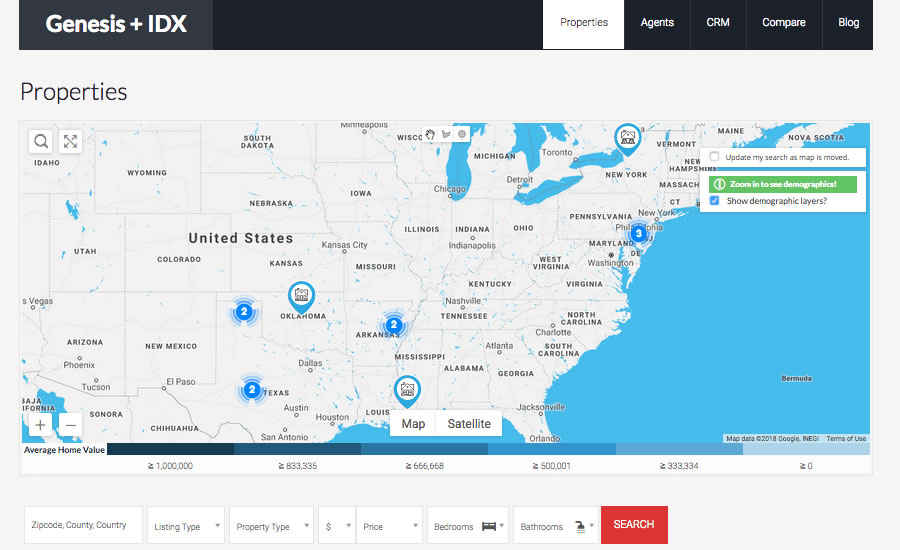
Choose IDX System
Your IDX system provides the software you need to connect to your MLS and display listings on your site. There are several competing technologies in this area. We break them down below:
FTP or File Transfer Protocol is a technology for moving files between computers. Used in the early days of IDX, FTP has since been replaced by more modern standards designed specifically for real estate. You may see FTP listed by some companies providers, but for most IDX needs a better alternative exists. For more, see What Is FTP in Real Estate?
iFrames
An iFrame is a design feature that allows a website to display information that resides elsewhere on the web. As an IDX technology, iFrames allow you to quickly and cheaply display property listings on your site. But iFrames come with a few downsides—poor SEO and no data control. For more on iFrames, see What Is IDX Framing?
RETS or the Real Estate Transaction Standard is a leading framework for property listing data transfers. It works by allowing brokers to replicate the MLS database locally, which provides more opportunities for SEO and customization. For more, seeWhat Is a RETS Data Feed?
The latest IDX standard is RESO API, which is designed to streamline property transfers using a common technology protocol. The standard can allow for faster setup and easier integration with third party applications. For more, see What Is RESO Web API?
Research the available technologies and work with your IDX provider to choose the best IDX system for your needs.
Step 4
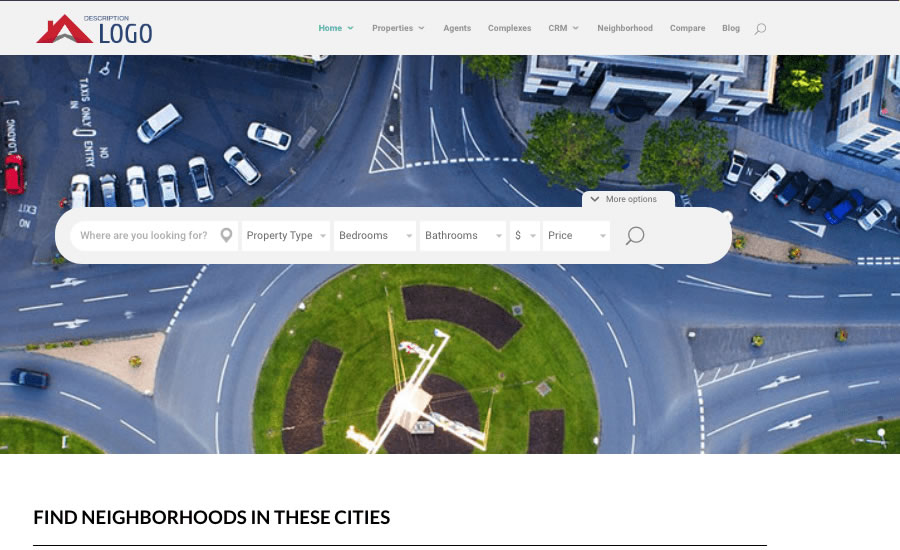
Choose a Theme
Your IDX system will provide much of the back-end capabilities for your site. Now it is time to focus on your front-end. You should choose a theme, or skin for your website. Here are some of the best WordPress themes for a brokerage website:
Divi
Divi and Divi builder are one of the web’s most popular combos for building and editing a website. Drag and drop allows even those with little design experience to modify virtually any detail and build a powerful brokerage site.
Bridge
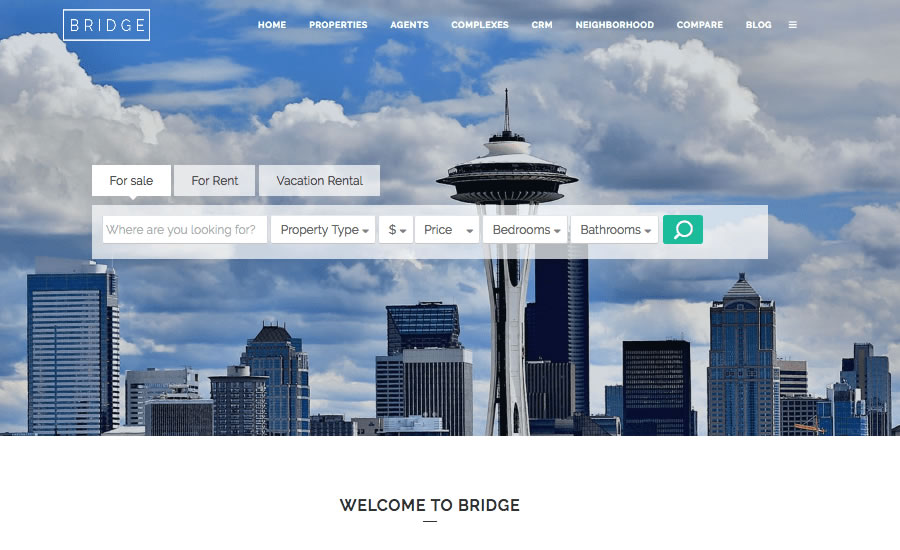
Bridge has built a reputation for flexibility and beauty in the real estate sector. It includes full-screen video support for splash pages and sticky headers.
Sesame
Sesame is a dynamic theme, made specifically for real estate professionals and brokers. It is compatible with the Elementor Page builder to make your site fully customizable.
Agent Press Pro
Agent Press Pro is built on the Genesis Framework, a design platform with a massive community of users within WordPress. The easy-to-use theme customizer allows you to edit colors and content, and preview the changes in real time.
Avada
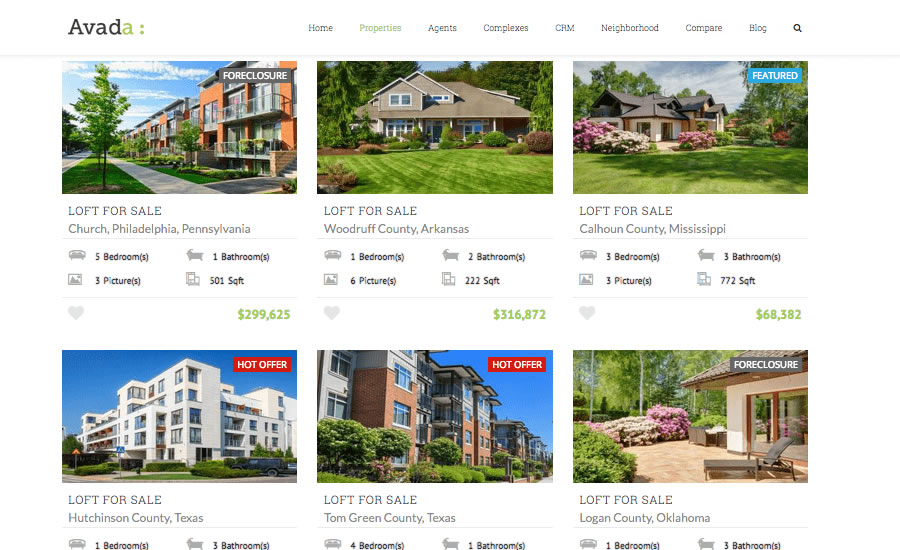
Avada is said to be the number one selling WordPress theme of all time. Its many features and sliders support the claim.
Enfold
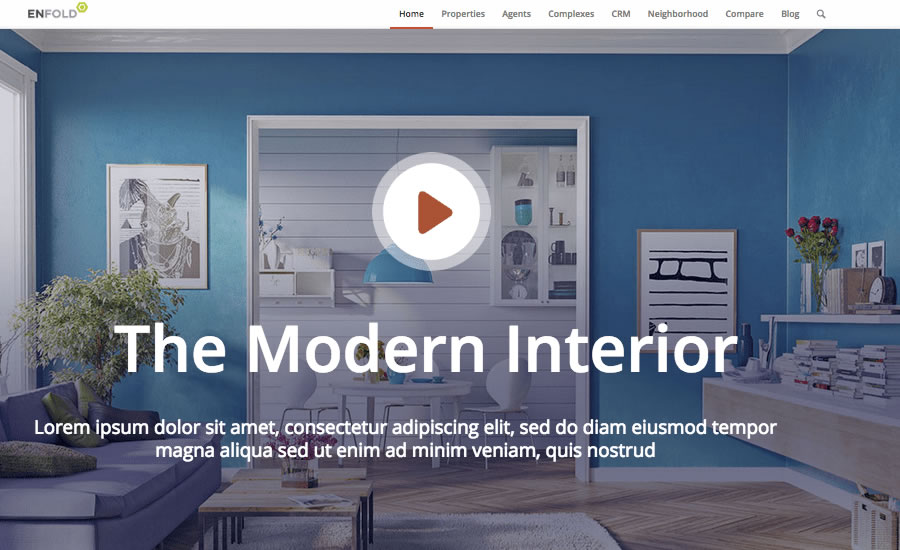
Enfold is built for speed and precision. By prioritizing feature loading by usage, Enfold can improve the page speed score for your brokerage site.
Work with your IDX provider to choose a theme that is compatible with your IDX system.
Step 5
Install Software
You have everything in place, now it is time to install.
Step 6
Connect to MLS
In the next step you will connect your new real estate brokerage website to your MLS. This will activate your IDX, so you can begin publishing listings.
This step largely depends on your IDX system. We provide general guidance below. Your IDX provider should have more specific documentation and technical staff to help you through this process.
Connecting a RETS Feed
To connect a RETS feed, you will first need to work with your IDX vendor and MLS to acquire login credentials to the MLS RETS server. You will use these credentials to access and query the property database. You will also need to map field to ensure that property details appear in the right place on your site. Finally you will set cron jobs for automatic updates. For more, see Integrate RETS Feed to WordPress.
Connecting Via RESO API
To connect to the MLS via RESO API, you will need to register with your MLS. The MLS will then grant credentials to access the API URL. You will request the API for the property listings you wish to display. For more, see How Does RESO Web API Work?
Step 7
Clone for Agents
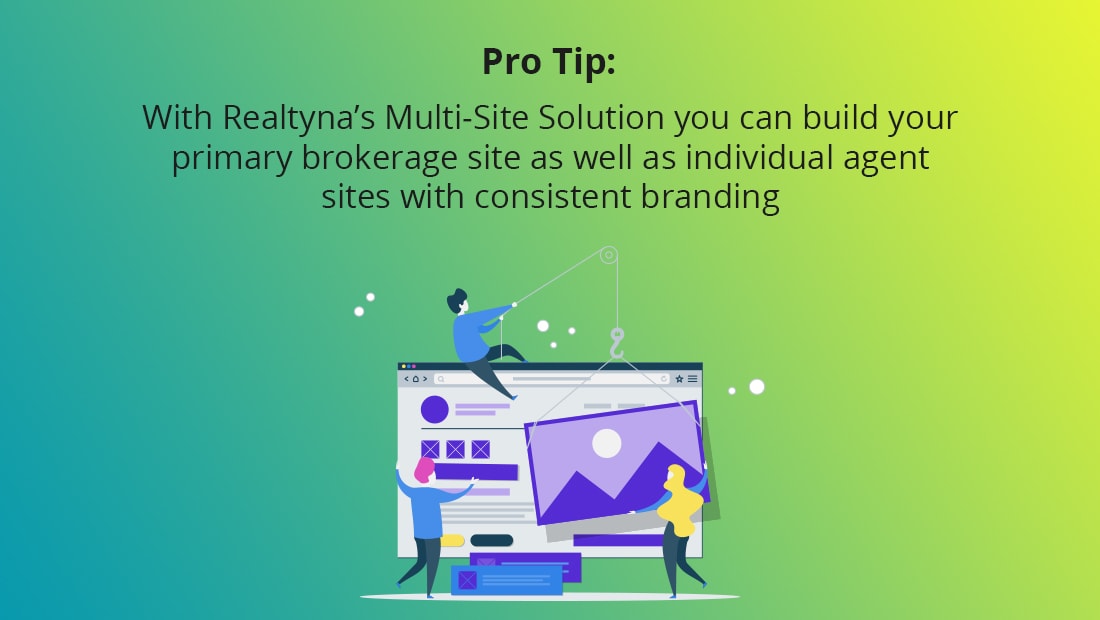
Your real estate brokerage website is now active and you are ready to add content and lead capture features. But before you do that, you may choose to clone your websites for individual agents. This will allow your team members to have their own sites but maintain the same MLS connect and branding. Speak to your IDX provider about a multi-site option to make this a reality.
Now you know how to build a real estate brokerage website with WordPress. Questions or feedback? Leave them in the comments. Or check out How to Convert Your Listings Into Facebook Dynamic Ads for Real Estate.

Comments (0)Subscribe to CommentsComment