The real estate industry is changing rapidly and with it, the role of the real estate agent.
Thanks to advanced technology, real estate agents can now access unprecedented information about property listings and their surrounding communities with a few clicks. This enables them to better serve their clients and advance in their careers.
The motor behind this new direction is IDX. Since 34 percent of all websites are currently powered by WordPress, we will take a look at how to add IDX to WordPress.
What Is IDX?
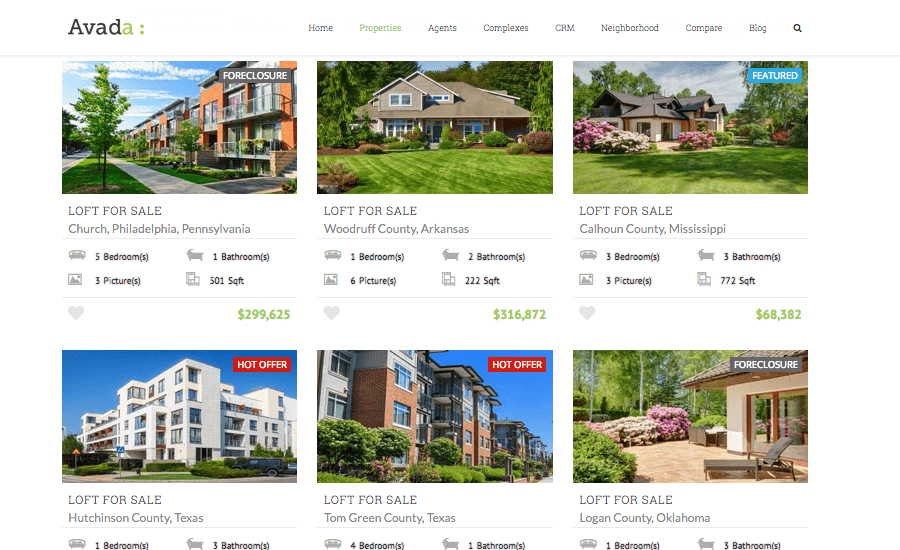
IDX or Internet Data Exchange is why you and I are able to browse MLS listings online. More specifically, IDX is the set of rules, licenses, and technologies that allow real estate agents to access MLS listings, integrate them on their websites, and display them publicly.
By adding IDX to WordPress, you can develop a property search website, attract leads and build your business.
What Is WordPress?
WordPress is a free, open source content management system software that has become the world’s most popular tool for building websites. By some estimates, WordPress powers more than 30 percent of the Internet, including some of the biggest companies and their webpages.
WordPress uses a flexible architecture allowing you to mix and match plugins and software. This allows you to create virtually any website possible and integrate your IDX software with third-party tools and features.
What IDX Technologies Work on WordPress?
There are three major IDX technologies: iFrames, RETS, and RESO API. All of them work on WordPress, but some offer certain advantages over the others. We introduce each IDX technology briefly below.
iFrames
A legacy technology to display MLS listings online, iFrames persist in some limited cases due to their low upfront cost. iFrames are design elements that allow users to take content that exists somewhere on the web and “frame” it, so it appears on their site. But iFrames come with a major drawback: they are not indexable. This means they are not recognized by Google and other search engines, which can sap your SEO and limit your web marketing. They are also not as flexible or customizable in terms of fields and design.
RETS
RETS is an IDX system that involves more data control and SEO benefits. Rather than framing IDX listings on your site, a RETS IDX system will import them so they reside on your website servers. Google and other search engines are able to “read” these listings and count them toward your page rankings. This can have a dramatic impact on your web visibility. Keep in mind that with more data on your website servers, you will need a larger hosting plan.
RESO API
RESO API is an IDX technology that allows your website to connect to the MLS via application programming interface. This streamlines the transfer of data and simplifies set up and maintenance compared to RETS. RESO API also provides a great deal of flexibility. Agents have the choice of replicating the listing data locally like RETS. Or they can call the MLS on the fly which could limit hosting costs.
How Do I Add IDX to WordPress?
Adding IDX to your WordPress site will depend on the IDX technology you choose and the specifics of your software. In most cases, your IDX vendor will provide all the technical work to get your IDX system online and connected to your MLS. We outline that process below to help you get a feel for what is going on behind the scenes.
Step 1: Get Access to IDX Feed
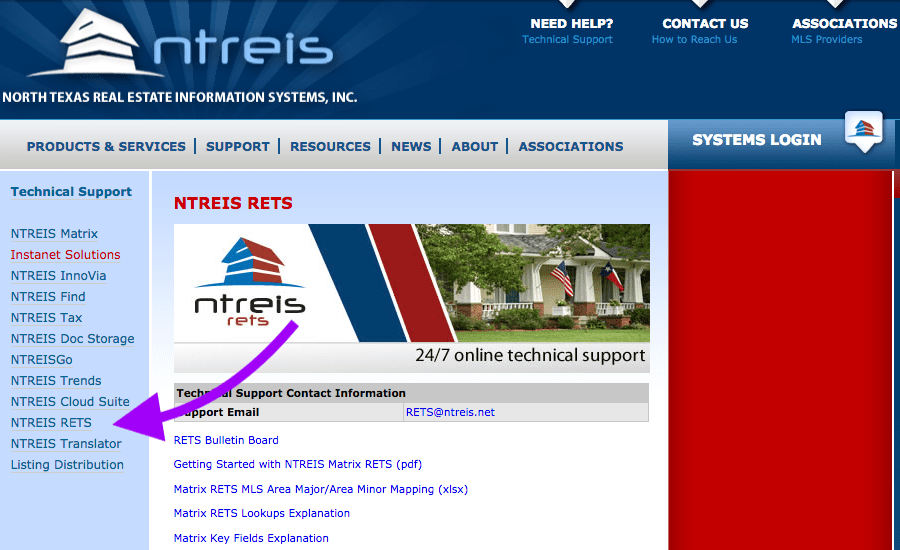
IDX is managed by your MLS. So your first step with any IDX technology is to get access. You should call your MLS and ask to speak with the MLS Administrator. Explain your project and your IDX system needs. The MLS will then issue paperwork to you and your IDX vendor. Once approved, the MLS will issue credentials to login to the relevant IDX server or access the necessary code.
Step 2: Install IDX Software
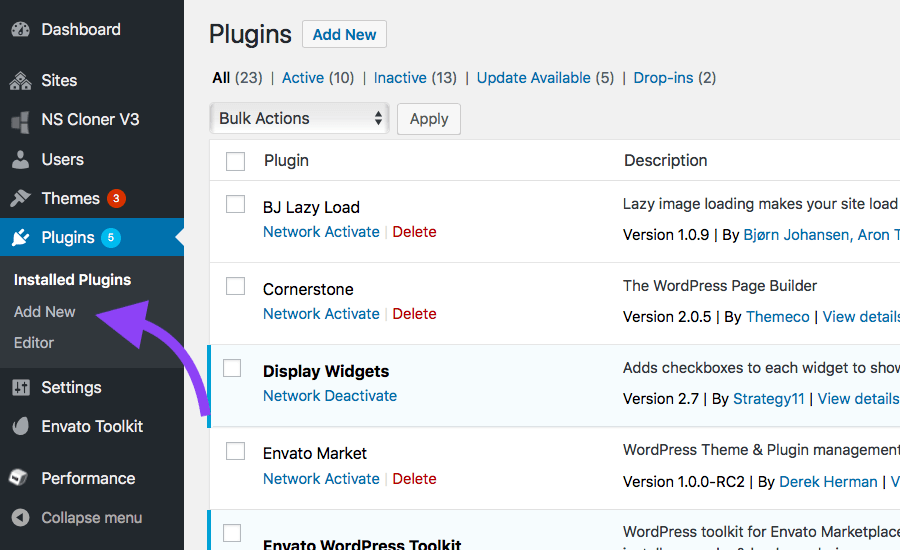
Your IDX vendor will provide the software necessary to set up and maintain your IDX system. In this step you will install it. A lot of WordPress software is installed as a plugin.
For Realtyna’s IDX software, you should download & install the WPL plugin first, and then navigate to purchased add-ons and select MLS Add-on.
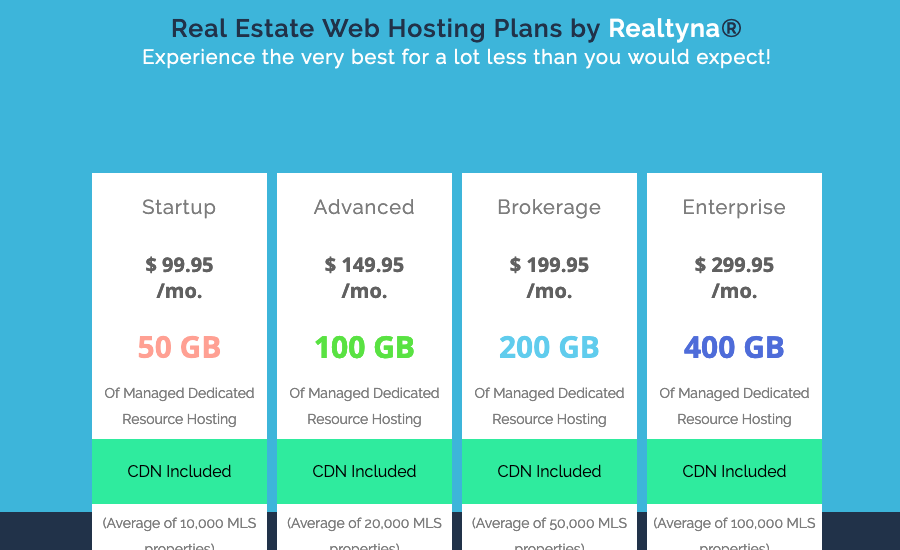
Step 3: Verify Hosting
Your hosting needs may vary by IDX system. So in this step you should verify that your hosting package can support the demands of your IDX and make adjustments if necessary. You should estimate the number of listings that you will be looking to display on your WordPress site. This will help you estimate how much disc space and bandwidth to allocate.
Step 4: Connect to MLS
In this step the paths of the various IDX systems diverge.
iFrames
To connect to the MLS via iFrame you should log into your IDX provider account. There should be a place to generate some html frame code. Copy this code and paste it on the WordPress page where you want your property search to appear. Once active, listings should automatically appear. But remember, you’re not getting any SEO credit for these listings.
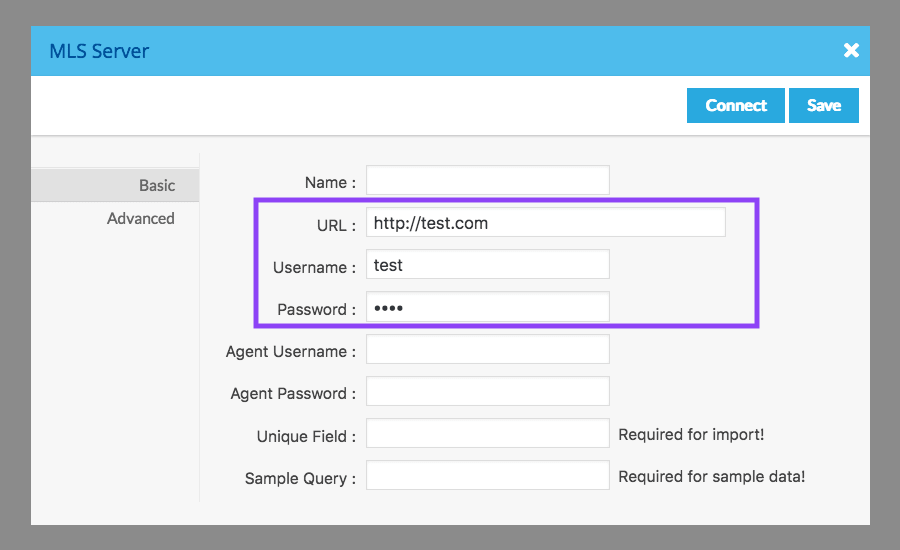
RETS & RESO API
For RETS and RESO API, you will insert login credentials into the MLS software dialogue. These credentials will be passed to the relevant server and grant you access to the listings database.
Step 5: Map Fields
iFrames
There is no mapping for iFrames because the listings are not on your site.
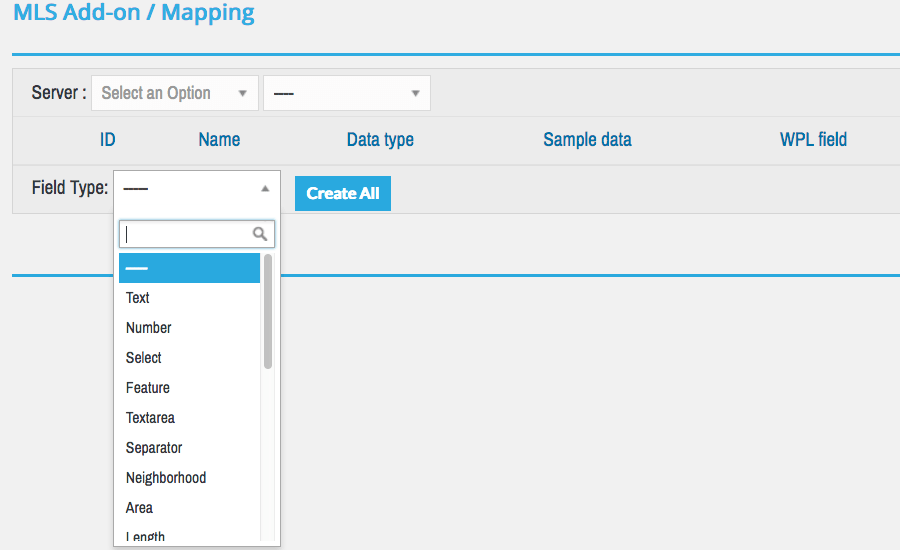
RETS & RESO API
In this step, RETS and RESO API users map fields between the listings database and there site. The step ensures all listing information appears in the right place on your site. For example, mapping ensures that the number of bathrooms appears in the number of bathrooms column, not say, window treatments.
Step 6: Set Queries
iFrames
iFrames are one-size-fits-all, so you cannot customize your feed.
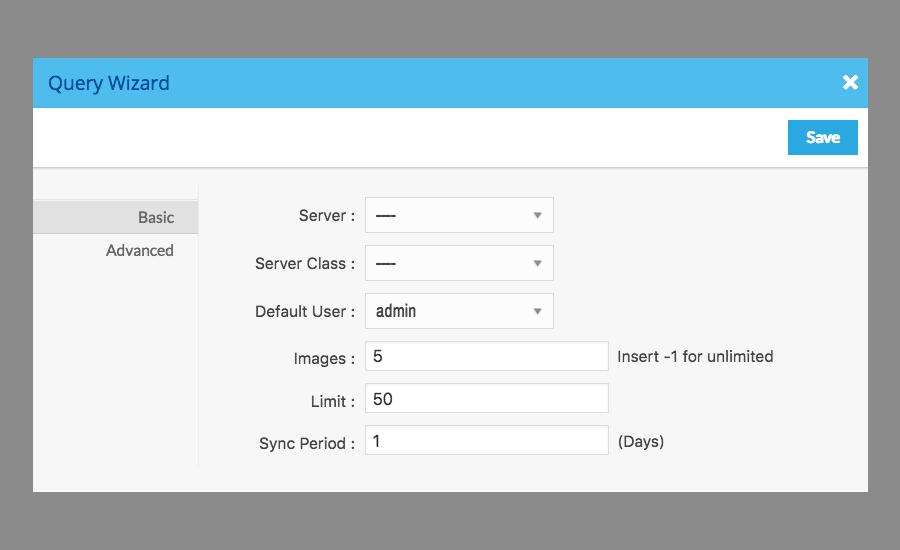
RETS & RESO API
RETS and RESO API users will need to query the MLS database to retrieve listings. These queries will set the parameters for the listing and property types that will be displayed on the agent site. Realtyna’s IDX software includes a query manager to facilitate this process via graphical interface.
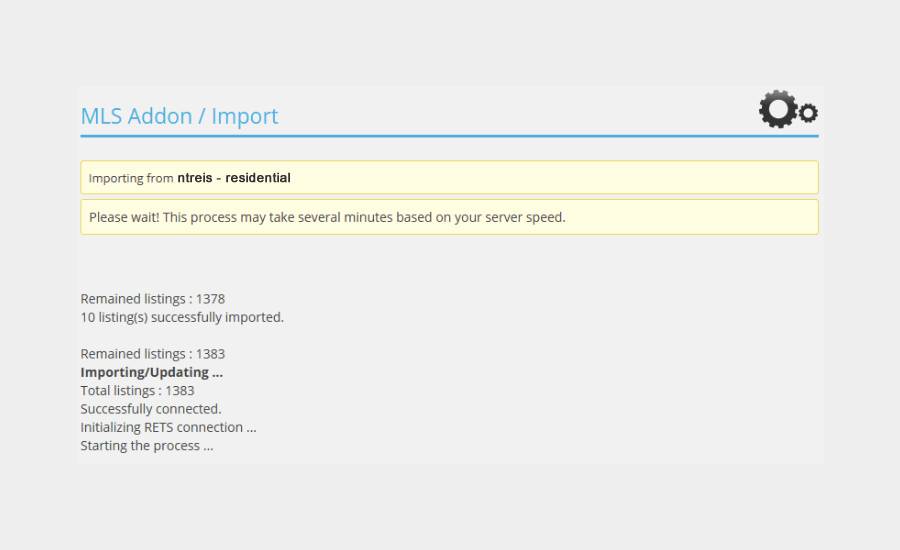
Step 7: Import Listings
iFrames
iFrames do not import listings. Instead, they use a design trick to show you listings that exist elsewhere.
RETS & RESO API
In this step, those with RETS and RESO API IDX systems will retrieve their first set of listings. The RETS system will query the MLS database and download listings via XML. The RESO API system will call the application programming interface.
Step 8: Confirm Listing Display
Once listings start appearing on the WordPress site, all IDX users should confirm their accuracy by comparing them with the local MLS system (i.e. Matrix). Any issues should be brought to the IDX provider.
Step 9: Automate
iFrames
iFrames are automatic but you also have no control over them.
RETS & RESO API
At this point, your IDX provider will set the queries to run at a regular interval. These queries will fetch new or updated listings and refresh your property search as changes occur on the MLS.
*Note: At Realtyna we handle steps 2 through 9, so you don’t have to worry about any of the technical stuff!
What Are the Rules for Displaying IDX on WordPress?
Once you have your IDX system set up, you cannot just display listings willy-nilly. You need to follow a strict set of rules designed to protect the MLS data from misuse and theft. Some examples include:
- IDX listings must be credited to the MLS
- MLS listings must be unaltered
- Only you or your IDX provider may use the MLS login credentials provided
- IDX listings should be refreshed on your site at least once a day
See your MLS for a full list of rules.
Now you know how to add IDX to a WordPres site. Questions or feedback? Leave them in the comments. For more, see our blog How to Create a WordPress Site That Sends IDX to Facebook.

Comments(0)