Sharp pruning tools not only make duties easier to perform, but they also make cleaner cuts, allowing plants to heal faster. If you're a gardener, you already know this. Making clean incisions also protects them from diseases, insects, fungi, and harsh weather. Making sure your equipment is properly stored, cleaned, and maintained will save you time and money while also improving the comfort of your projects and jobs. When it comes to keeping your tools, you'll have to make do with what you've got.
Follow these measures to keep your tools in great shape throughout the season.
Step 1: Cleaning your tools is the first step.
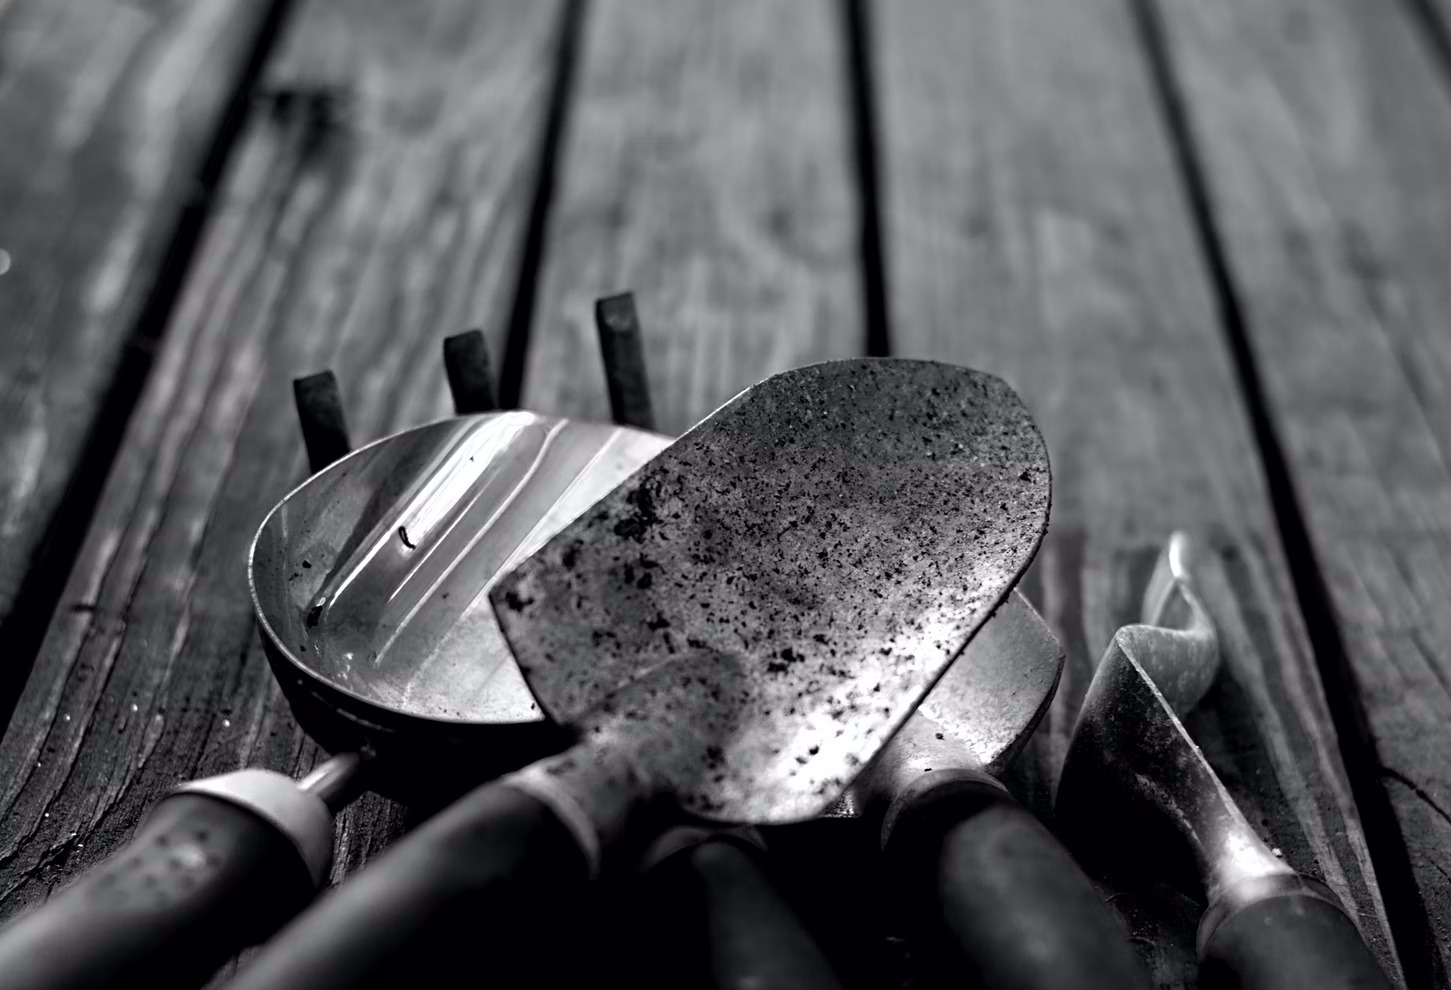
Dirt and sap left on garden equipment aid in developing soil-borne illnesses and weeds and attract and retain moisture, which promotes rust. First, disassemble any tools with moving parts, such as pruners, shears, and loppers. Remove any accumulated rust and grime from all metal surfaces with a wire brush. Use fine steel wool stubborn rust from tiny tools to remove a stain. Remove rust from larger instruments like shovels, spades, and hoes with medium-grit sandpaper.
Step 2: Pruners should be sharpened.
After you've cleaned your tools, they're ready to be sharpened. When sharpening, attempt to keep the factory bevel or angle as close as possible. Use a whetstone to sharpen pruners because it generates a razor-sharp cutting edge. Depending on the type of whetstone, apply a few drops of oil or water to it. Rub the sharp edge of the blade against the stone in a curving motion, as if you were trying to shave off a tiny slice from the stone, with the beveled side of the blade against the stone. Only sharpen the beveled side of a blade.
Step3: Other Tools Should Be Sharpened
Sharpen shears, loppers, shovels, spades, and hoes with fine- and medium-grit single-cut mill bastard files in succession. To avoid harm and guarantee uniform stroke when working with a file, secure the blades against a solid surface such as a workbench. Never drag a mill bastard file backward across the blade on the return stroke; instead, push the file across the blade away from your body. Move the file diagonally so that the cutting teeth of the file are biting into the tool's metal. Metal filings will accumulate and obstruct the serrations while sharpening with a file.
Step 4: Finishing Touches
Using light machine oil or synthetic oil, lubricate all clean, sharpened metal blades and the heads of shovels, hoes, and rakes. To help prevent future splintering, clean hardwood handles with a stiff-bristled brush, smooth nicks, and splinters with medium-grit sandpaper, and coat handles with boiled linseed oil. Remove the thin plastic covering with a craft knife and replace it with a liquid or spray plastic coating if the handles are plastic-coated. Reassemble the tools once the handles are in good condition.
Maintaining your garden equipment regularly keeps them in good operating order and helps them last longer. Tools that contact infected plants or soil can transmit bacterial, fungal, or insect infestations across the garden. After each gardening session, it simply takes a few minutes to clean up, sharpen your tools, and protect your garden the next time they are used.


Comments(2)