Here's one way to add multiple images to one single file in Photoshop. The basic process is the same for any version of Photoshop or Photoshop Elements, or Paint Shop Pro.
1. Open a new, blank file. File -> New. Let's make the new file a square 1200 pixel x 1200 pixels. That way you can add four images that are 590 pixels by 590 pixels each. Note: we're making the 4 images just a tiny bit smaller just to allow some wiggle room.
2. Leave the new blank file open. Open the first image you want to use. Make a copy of the image you you don't accidentally screw up up your original. To make the copy, hit File -> Save As-> And name the new copy something. Choose maximum JPEG image size to maintain image quality at this point.
3. Crop -![]() that newly copied image to a square. Then resize it to 590 pixels x 590 pixels. Image -> Resize -> Image Size. Check "resample" to work directly with the pixel sizes. Uncheck "Constrain Proportions" to make it exact.
that newly copied image to a square. Then resize it to 590 pixels x 590 pixels. Image -> Resize -> Image Size. Check "resample" to work directly with the pixel sizes. Uncheck "Constrain Proportions" to make it exact.
4. Select the newly resized image. Quickest method is Select -> All. Click the Move tool ![]() Click somewhere in the image, then drag the image into the blank file and place it in one of the corners.
Click somewhere in the image, then drag the image into the blank file and place it in one of the corners.

5. Open, save as, crop, resize and select your second image. Drag it into another corner of the new file. Continue with your third and fourth images.

6. You can click in each individual image to nudge it around, to fine tune the placement. Then hit Layer -> Flatten image. Then hit File -> Save For Web and convert it to JPEG. Give the file a name you will recognize again, and pay attention to where it is saved.
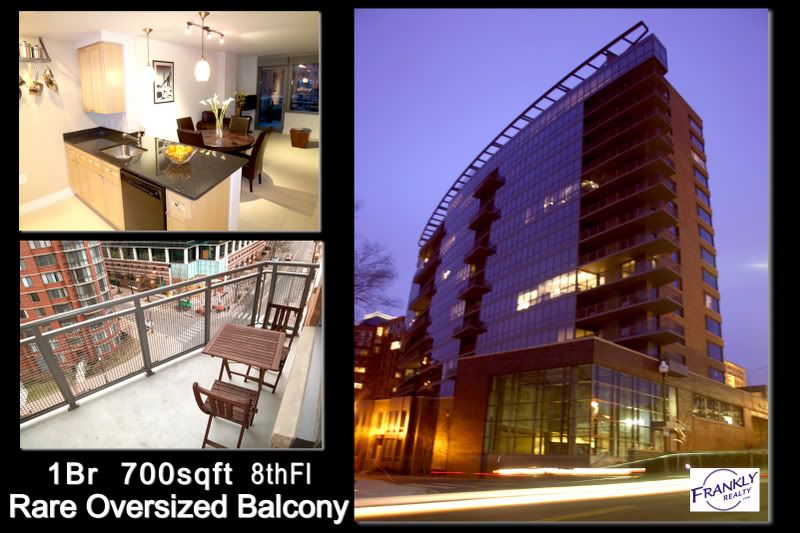
Once you have the basic technique figured out, you can make various arrangements, with various photo sizes. You can even add text.
Note the 1200 x 1200 size may be too large for your MLS system. If so, resize the new 4-image file to an appropriate size, but keep in mind the images in the end product may be so small, that you would have been better off, just selecting your "best of the best" photos to display in your MLS to keep within their image count limit.

Comments(12)